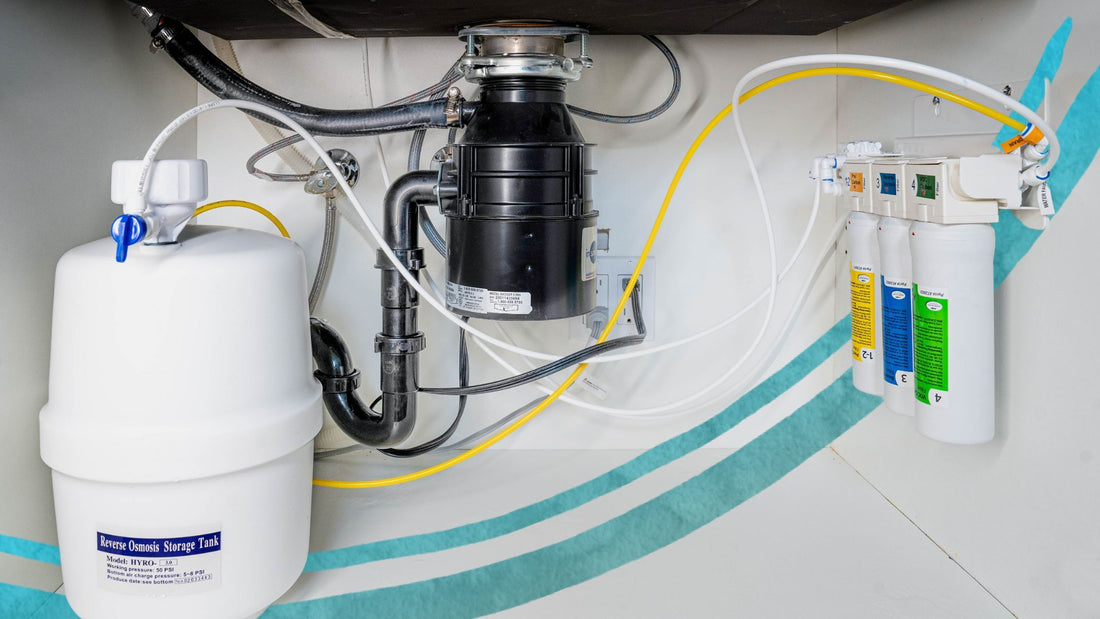
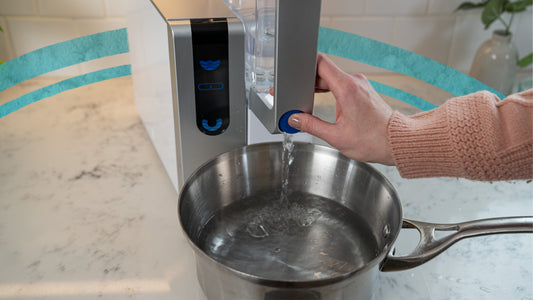
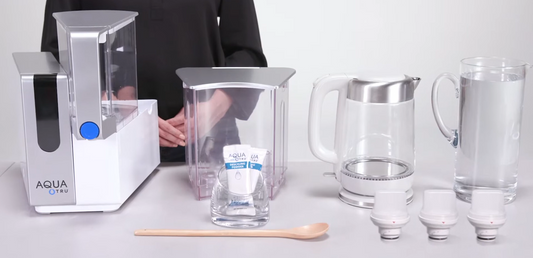
Experience the joy of pristine water with the AquaTru Under Sink Reverse Osmosis System! This sleek, space-saving unit conveniently fits beneath your sink, providing crystal-clear water directly from your kitchen faucet. Upgrading your home's water quality has never been easier, ensuring your family enjoys the highest standards. Our comprehensive visual guide simplifies the installation process, allowing you to set up your system effortlessly and confidently.
While the AquaTru system is designed for easy installation, we strongly recommend the expertise of a professional plumber. This not only ensures a correct and efficient setup but also safeguards your warranty. Incorrect installation can lead to issues and potentially void the warranty. Whether you are a DIY enthusiast or prefer professional assistance, our guide is there to provide comprehensive support, guaranteeing you the purest water possible.
Ready to get started? Confirm that you have all the required components. The AquaTru system has a versatile cold-water adapter that fits both half- and 3/8-inch connectors. Refer to the owner's manual for a detailed list of tools and instructions to ensure you have everything. Now, let us prepare for the installation! With all tools and components on hand, follow along as we break down the process into clear, manageable steps.
Let us make a splash in your kitchen with every turn of the wrench!
1. Prepare the Installation Area

Begin by clearing the area under your sink and removing any cleaning supplies or obstructions. This space needs to be accessible and clean, as it will house the various components of the filtration system.
2. Turn Off the Water Supply

Locate the cold-water supply valve, typically found under the sink, and turn it to the closed position to stop the water flow, allowing you to work safely. After closing the valve, open your faucet to release any remaining pressure and water in the lines, ensuring a dry workspace.
3. Install the Tap Water Adapter

Attach the white tubing with your system to the tap water adapter and secure this adapter to your cold-water valve. To prevent leaks, wrap the threads of the connections with Teflon tape before tightening. This step is essential for ensuring secure and efficient water flow to your system.
4. Set Up the Drain Connection

Drill a hole in your drainpipe to attach the drain line from the RO system. Place the self-adhesive sponge around this hole to cushion and seal the connection, preventing water leakage. Ensuring this seal is tight and secure is crucial for system functionality and to avoid water damage under your sink.
5. Install the RO Faucet

If your countertop does not already have a hole for the RO faucet, you will need to drill one. Carefully position the faucet, insert it through the hole, and tighten the fittings from underneath the sink. Ensure all connections are secure but avoid overtightening them to prevent damaging the fixtures.
6. Connect Tubing and Test the System

Organise and connect the tubing as outlined in the system's layout plan, ensuring the lines run from the water supply to the faucet and the system to the drain. After connecting all tubing, run water through the system and meticulously inspect each joint and connection for leaks. If any leaks are found, address them promptly to maintain the system's integrity.
7. Activate and Flush the System

With the installation complete, turn the water supply back on to fill the system's storage tank, which may take a few hours. Once the tank is filled, flush the system according to the manufacturer's instructions. This initial flush removes any impurities from the filters, ensuring the water quality is up to standard for drinking.
If our visual guide is not quite enough, additional help is available. We have a comprehensive installation video on YouTube that walks you through the process step-by-step. It is an excellent resource for seeing exactly how everything fits together in real-time.
Congratulations on choosing to enhance your water quality with the AquaTru system! As you begin this journey, consult the owner's manual for detailed safety information and step-by-step instructions. If you encounter any questions or issues during the installation, do not hesitate to contact AquaTru support for help. We are here to ensure your installation goes as smoothly and successfully as possible.
Raise a glass to the convenience of pure, clean water at home!


